Top-to-Bottom Cleaning Sequence: A Step-by-Step Home Guide
Stop cleaning chaos. Master the systematic, step-by-step plan that transforms a daunting deep clean into an efficient, manageable project.
To execute a successful deep clean, you must prioritize decluttering before scrubbing, work from the ceiling down to the floor, and divide your home into manageable zones.
By preparing your supplies in advance and following a logical sequence, you prevent re-dirtying surfaces you have already cleaned.
* Declutter First: Remove all unnecessary items from surfaces before you touch a sponge. * Top-to-Bottom Rule: Always clean high surfaces like ceiling fans first so dust falls onto uncleaned floors. * Zone Strategy: Tackle one room or area at a time to maintain momentum and prevent burnout. * Pre-Work Audit: Gather every tool and chemical before you begin to avoid mid-task interruptions.
Phase 1: Why do I feel paralyzed by the mess?
I remember standing in my living room in the spring of 2024, staring at a mountain of mail, stray shoes, and dusty bookshelves, feeling completely paralyzed by the sheer scale of the mess. I realized then that you cannot clean a house that is still full of stuff; you can only move the mess around.
The most effective way to start is to focus 80% of your initial effort on the 20% of items that cause the most visual clutter, such as kitchen counters or the entryway. Use a 4-box system—labeled Keep, Donate, Trash, and Relocate—to sort through items as you clear surfaces.
To prevent exhaustion, use time blocking. Instead of an open-ended "clean all day" approach, allocate specific time slots, such as two hours for the kitchen and ninety minutes for the bathrooms. This keeps you moving and provides a sense of accomplishment.
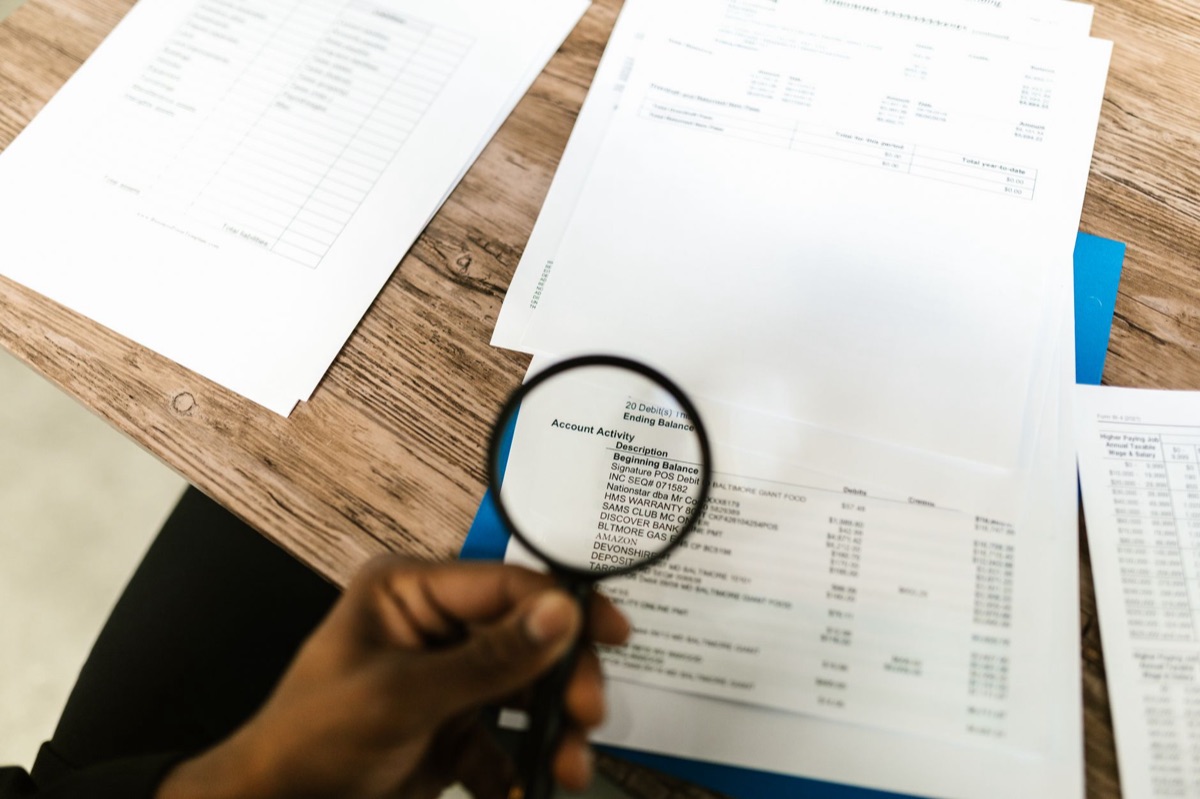
Before you pick up a single cloth, perform a supply audit. Check that your vacuum is emptied, your microfiber cloths are clean, and your specialized cleaners are fully stocked.
| Cleaning Phase | Primary Goal | Key Method |
|---|---|---|
| Decluttering | Surface Clearance | 4-Box Sorting System |
| Dry Cleaning | Dust Removal | Top-to-Bottom Dusting |
| Wet Cleaning | Dirt/Grease Removal | Targeted Chemical Application |
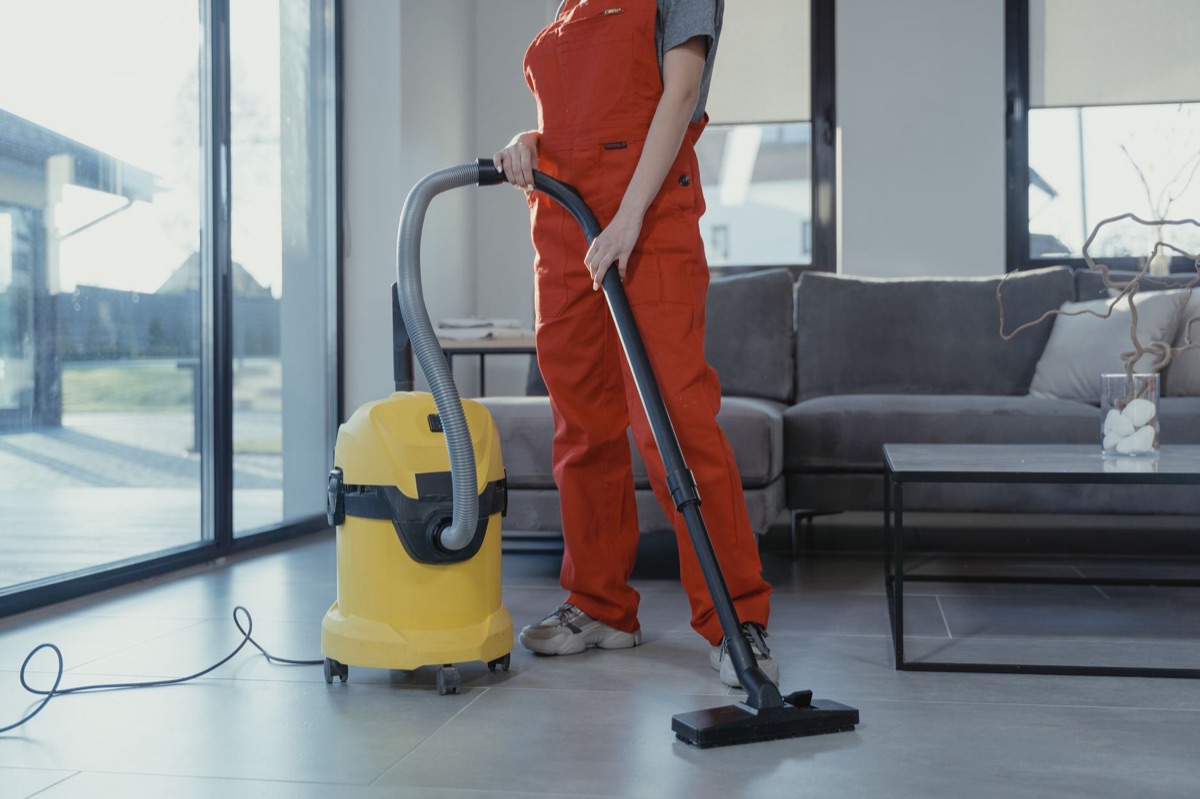
| Finishing | Floor Care | Vacuuming & Mopping |
But preparation is only the first step; the real challenge begins when the dust starts flying.
Phase 2: Why must I clean from the ceiling down?
The sun was hitting the dust motes dancing in the air of my hallway in late 2024, making the task of cleaning the ceiling fans look particularly daunting. If I had started with the floors, I would have just spent the whole afternoon vacuuming the same dust twice.
Always begin with the high-to-low rule. Dust ceiling fans, light fixtures, and high shelves first to capture falling debris before it settles on clean surfaces.
Follow a strict sequence: start with dry cleaning (dusting and vacuuming), move to wet cleaning (wiping and scrubbing), and finish with the final polish (floors).
When you reach the kitchen, focus on grease. Degrease the hood filters and oven interiors using specialized degreasers rather than general-purpose sprays. In the bathroom, apply mold or mildew treatments to grout and shower curtains before you start scrubbing.
This allows the chemical reaction time to work effectively, which requires a minimum of 15 minutes. Finally, once all surfaces are clean, vacuum all carpets and rugs, then mop hard floors using a pH-neutral cleaner to prevent white residue buildup.
However, even with a perfect sequence, one wrong move can ruin your hard work.
Phase 3: Why do stains keep coming back?
I once spent an entire Saturday scrubbing a rug only to realize I had rubbed a coffee stain deeper into the fibers instead of lifting it out. That mistake turned a simple spill into a permanent mark and taught me the importance of technique over brute force.
For fresh stains like coffee or wine, blot immediately with cold water and a mild detergent solution; never rub, as rubbing pushes the pigment deeper into the material. For ambient odors, use the baking soda method.
Place open bowls of baking soda in refrigerators or closets for 24 to 48 hours to absorb smells rather than just masking them with heavy perfumes.
When detailing appliances, focus on high-touch areas like refrigerator handles and control panels. For deep-seated odors in a refrigerator, check the drip pan at the bottom of the unit.
For fabric-based odors, such as those in a sofa, a light vacuuming followed by an enzymatic cleaner can often do the trick.
Essential Pre-Clean Checklist
- Clear the Surfaces: Remove all items from counters, tables, and floors to reveal the actual cleaning area.
- Gather All Supplies: Collect your vacuum, mops, buckets, microfiber cloths, and all necessary cleaning agents in one central location.
- Inspect Equipment: Check that vacuum filters are clean, mop heads are not worn out, and spray bottles are functional.
- Set the Atmosphere: Put on a playlist or a podcast to maintain energy levels throughout the scheduled time blocks.
Common Mistakes to Avoid
A common mistake is neglecting the "hidden" dust collectors. Many people focus on the visible surfaces but forget to clean the tops of door frames, window sills, or the blades of ceiling fans. If you don't clean these, the dust will simply fall back onto your freshly cleaned floors within hours.
Another error is using the wrong chemical for the job. For example, using an acidic cleaner on natural stone like marble can cause permanent etching. Always verify that your cleaning agent is safe for the specific surface you are treating. Lastly, do not skip the decluttering phase.
If you try to clean around piles of clutter, you aren't actually cleaning; you are just organizing chaos.
When This Plan Does Not Apply
This systematic deep-cleaning guide is designed for routine seasonal maintenance or move-in/move-out scenarios in standard residential environments.
It does not apply to professional industrial cleaning, specialized restoration (such as fire or flood damage), or cleaning of delicate antique collections that require professional conservator intervention.
Related
FAQ
How should I handle heavy dust in a room?
What is the best way to prevent re-dirtying a clean room?
Related posts
Extend Garment Life: Follow These 5 Laundry Machine Steps
Match Cleaner Chemistry to Mess for a Spotless Home Now

10-Minute Daily Reset: Keep Your Home Pristine All Year
Cleaning Strategy: Slash Your Spring Cleaning Time by 50%
Popular posts
10-Minute Daily Reset: Keep Your Home Pristine All Year
Cleaning Strategy: Slash Your Spring Cleaning Time by 50%

Dust Control Tips: Keep Air Purifiers 20 Inches From Walls
Comments 0