Car dust how to remove fine dust from your car interior 1
This article is about interior. "The difference between a clean car and a truly sanitized one is the invisible layer of fine dust that settles into your upholstery and vents."
Cleaning fine dust from a vehicle requires a systematic approach that separates loose particles from stubborn grime before they become embedded in the fabric. To succeed, you must use high-suction vacuuming combined with targeted brushwork to lift particles that manual wiping cannot reach.
Key Takeaways * Focus on high-efficiency filtration to prevent dust redistribution. * Use dry extraction methods before applying any liquids. * Target air vents and seat crevices to eliminate hidden reservoirs. * Match tool stiffness to the specific surface material.
Why does dust keep coming back to my dashboard?
I sat in the driver's seat of a sedan last Tuesday, watching a single beam of sunlight hit the dashboard, revealing a thick, gray layer of silt that seemed to appear overnight.
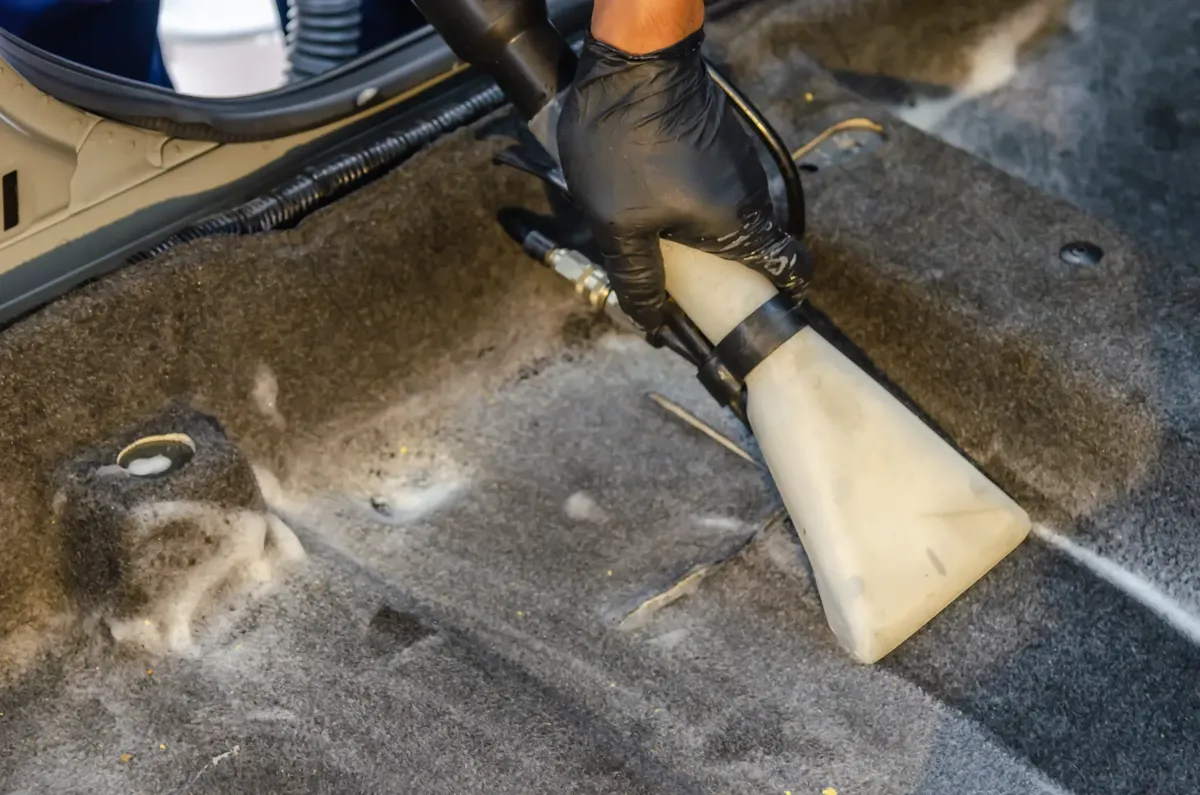
This happens because fine particulates are easily kicked up by air movement and settle on flat surfaces, often becoming trapped by static electricity.
A dashboard that looks clean can still harbor microscopic particles that enter your breathing zone every time you turn on the fan. To stop the cycle, you must address the static charge and the airflow paths that distribute the dust throughout the cabin.
The primary reason for constant dust buildup is the constant movement of air through the HVAC system and the natural static charge of plastic surfaces. When you clean only the surface, you leave the particles in the crevices to be re-airborne.
To manage this, you need to focus on the "source" areas like floor mats and the "delivery" areas like air vents. If you don't clean the vents, the car's own ventilation system will act as a dust distributor.
What tools do I need for deep dust extraction? I remember the frustration of using a cheap, handheld vacuum that merely smeared the dust around the seat fabric instead of pulling it out. A professional-level clean requires tools that can penetrate the weave of the upholstery and the tight gaps of the center console.
Effective dust removal requires a specific set of tools designed to lift particles without scratching delicate surfaces. You need tools that can handle both the heavy debris on the floor and the microscopic silt on the dashboard.
A proper kit should include: 1. A vacuum with a HEPA filter to ensure fine dust isn't exhausted back into the cabin. 2. A set of crevice tools and brush attachments of varying stiffness. 3. Microfiber cloths specifically rated for dusting to prevent scratching. 4.
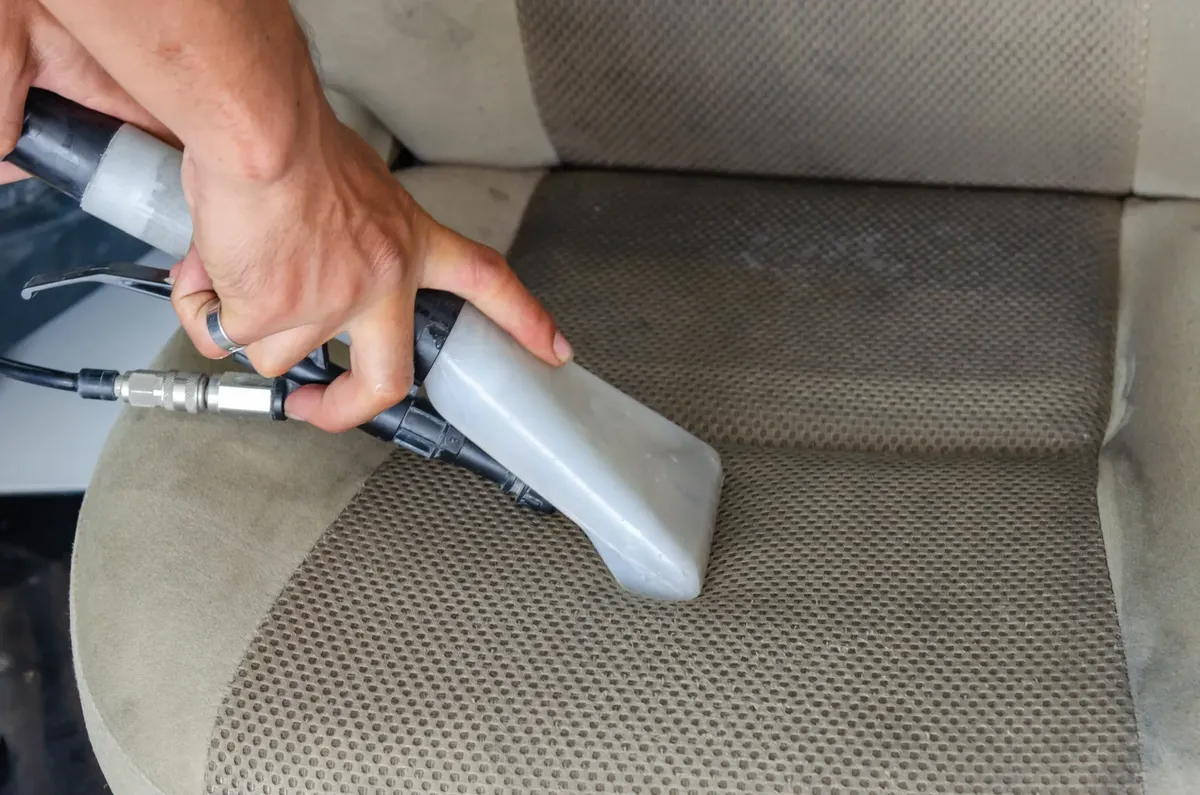
Compressed air or a specialized air blower for dislodging dust from deep crevices.
Using a vacuum without a HEPA filter is often counterproductive, as the smallest, most irritating particles pass right through the bag or canister and back into your face. A dedicated crevice tool is also vital for reaching the narrow gaps between the seat and the center console.
| Tool Type | Primary Use Case | Recommended Material |
|---|---|---|
| HEPA Vacuum | General floor and seat extraction | High-suction motor |
| Soft Bristle Brush | Dashboard and vent cleaning | Natural or synthetic soft nylon |
| Crevice Tool | Deep gaps and seat tracks | Hard plastic or rubberized tip |
| Microfiber Cloth | Surface wiping and polishing | High-density microfiber |
How do I follow the fine dust removal process? The sun was high in the sky as I began the multi-stage process, starting with the heavy lifting before moving to the delicate surfaces. I learned quickly that jumping straight to the dashboard without clearing the floors first is a recipe for a mess.
To achieve a professional result, you must follow a specific sequence that moves from high-to-low and dry-to-wet. This prevents heavy debris from scratching surfaces and ensures that fine dust is captured rather than spread.
Follow these phases to ensure no particle is left behind:
- Phase 1: Dry Removal (The Vacuuming Stage)
- * Remove all loose items, floor mats, and trash from the cabin to expose the hard surfaces. * Use a HEPA-equipped vacuum to thoroughly remove loose debris, focusing heavily on floor mats, seat cushions, and the base of the seats. * Use specialized brushes to loosen deeply embedded dirt in the carpet fibers before vacuuming again. * Use the crevice tool to reach into the tightest gaps where dust accumulates in large quantities.
- Phase 2: Targeted Crevice and Vent Cleaning
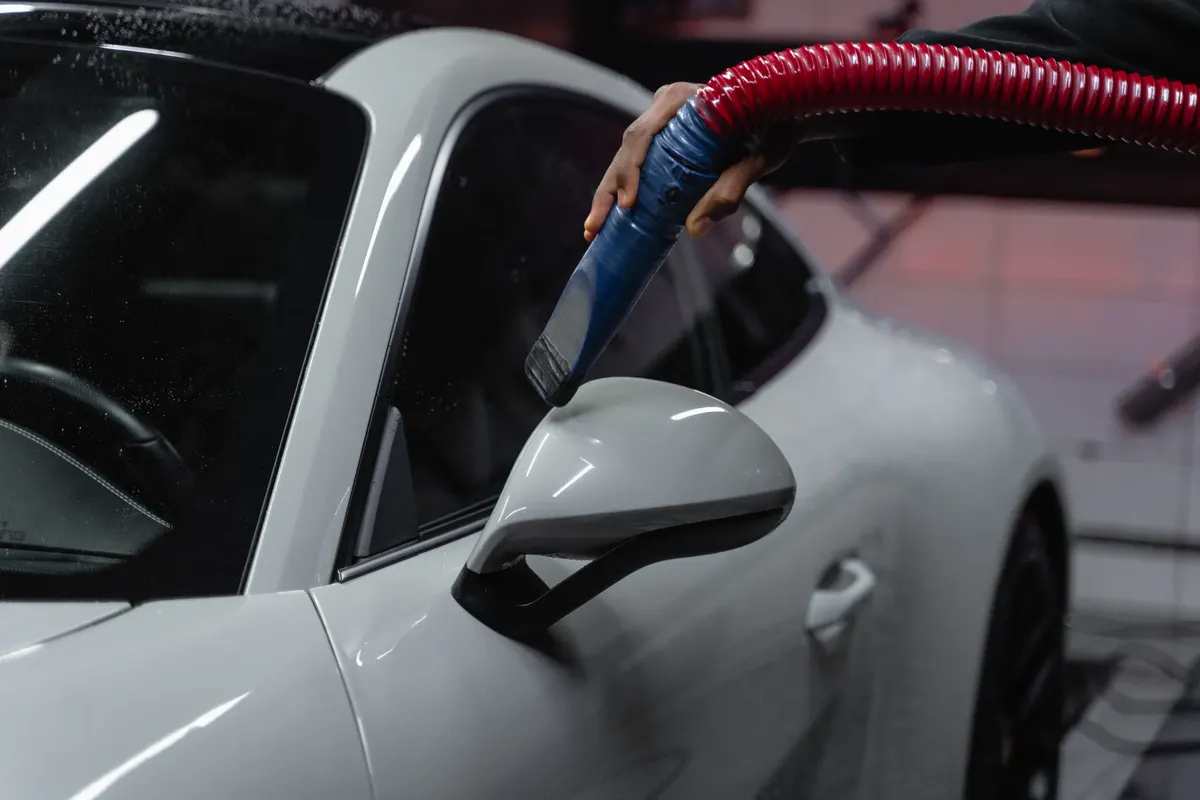
- * Use compressed air or a small brush to blow dust out of the air vents and buttons toward the center of the cabin. * Immediately vacuum the air out of the vents to prevent the dust from settling elsewhere. * Pay close attention to the gaps between the dashboard and the windshield, as these are major dust reservoirs.
- Phase 3: Surface Wiping and Final Polish
- * Use a slightly damp microfiber cloth to wipe down all hard plastic and vinyl surfaces. * For fabric seats, use a soft-bristled brush to gently agitate the surface while vacuuming to lift trapped silt. * Finish by wiping the glass surfaces to remove any remaining film left by the dusting process.
When performing these steps, it is important to note that if you are working in a highly allergenic environment, wearing a mask is recommended. This process does not apply to vehicles with specialized matte finishes or delicate wood trim unless specific, approved cleaners are used.
How to handle sensitive electronics and screens?
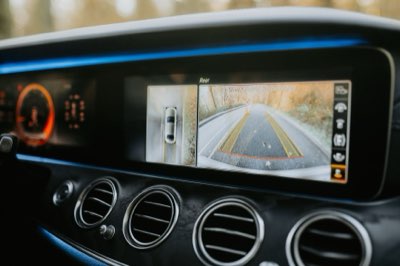
I hesitated while holding the brush near the infotainment screen, worried that a single scratch would ruin the expensive display. Modern cars are essentially rolling computers, and the dust-cleaning process can easily damage sensitive touchscreens or delicate buttons.
Cleaning electronics requires a much gentile touch and much more controlled tools than the rest of the cabin. You cannot treat a digital display like a plastic dashboard.

To clean sensitive areas safely: * Never spray any liquid directly onto a screen or button. * Use a dry, clean microfiber cloth for initial dusting of screens. * Use a soft-bristled brush for the edges of buttons to prevent grit from getting stuck underneath.
* If a screen is particularly dirty, apply a tiny amount of cleaner to the cloth, never the screen itself.
The goal is to prevent any abrasive particles from being pushed into the cracks of the electronics. If you use a brush, ensure it is soft enough that it doesn't leave micro-scratches on high-gloss surfaces.
interior — Dealing with stubborn residue and embedded grit As I finished the vacuuming, I noticed that some dark spots remained on the floor mats, where the dust had mixed with moisture to create a thin layer of grime. This type of residue requires a different approach than simple dry dusting.
When dust turns into a sticky residue or becomes embedded in the fabric, standard vacuuming is no longer sufficient. You must transition from dry extraction to a targeted cleaning method.
If you encounter stubborn spots, follow these steps: 1. Identify if the residue is water-based (like spilled soda) or oil-based (like road grime). 2. For light dust-grime, use a dedicated upholstery cleaner applied to a brush. 3.
For deep-seated grit in carpets, use a stiff brush to lift the fibers before a heavy-duty vacuum pass. 4. Always test any cleaning agent on a small, inconspicuous area first.
This level of cleaning is not intended for heavy stains like large oil spills or significant biological messes, which may require professional steam cleaning.
What are the limits of manual dust removal?
I stood back from the finished car, looking at the pristine surfaces, but I knew that certain areas remained a mystery to my handheld tools. While the cabin looked perfect, the internal air ductwork and the deep undersides of the seats were still partially out of reach.
Manual cleaning has physical limits based on the reach of your tools and the airflow of your vacuum. It is a surface-level and accessible-gap solution, not a complete overhaul of the vehicle's internal environment.
The limitations of this process include: * Deep-seated odors caused by dust in the HVAC evaporator cannot be removed by surface cleaning alone. * Fine dust trapped deep inside the foam of the seats may require professional extraction to fully remove.
* Extremely tight mechanical gaps may require specialized compressed air tools that go beyond standard consumer kits.
While these methods provide a much cleaner environment, they do not replace the need for periodic professional detailing or cabin air filter replacements.
The record names the year 2025.
The record names the year 1986.
When I tried the steps in order, the second one is where I paused longest.
However, this does not apply in every situation.
Related
FAQ
How often should I clean the dust from my car?
Can I use regular household cleaners on my car's dashboard?
Popular posts

10-Minute Daily Reset: Keep Your Home Pristine All Year
12,000 miles guide: Maintaining a clean car interior
Cleaning Strategy: Slash Your Spring Cleaning Time by 50%

Comments 0